
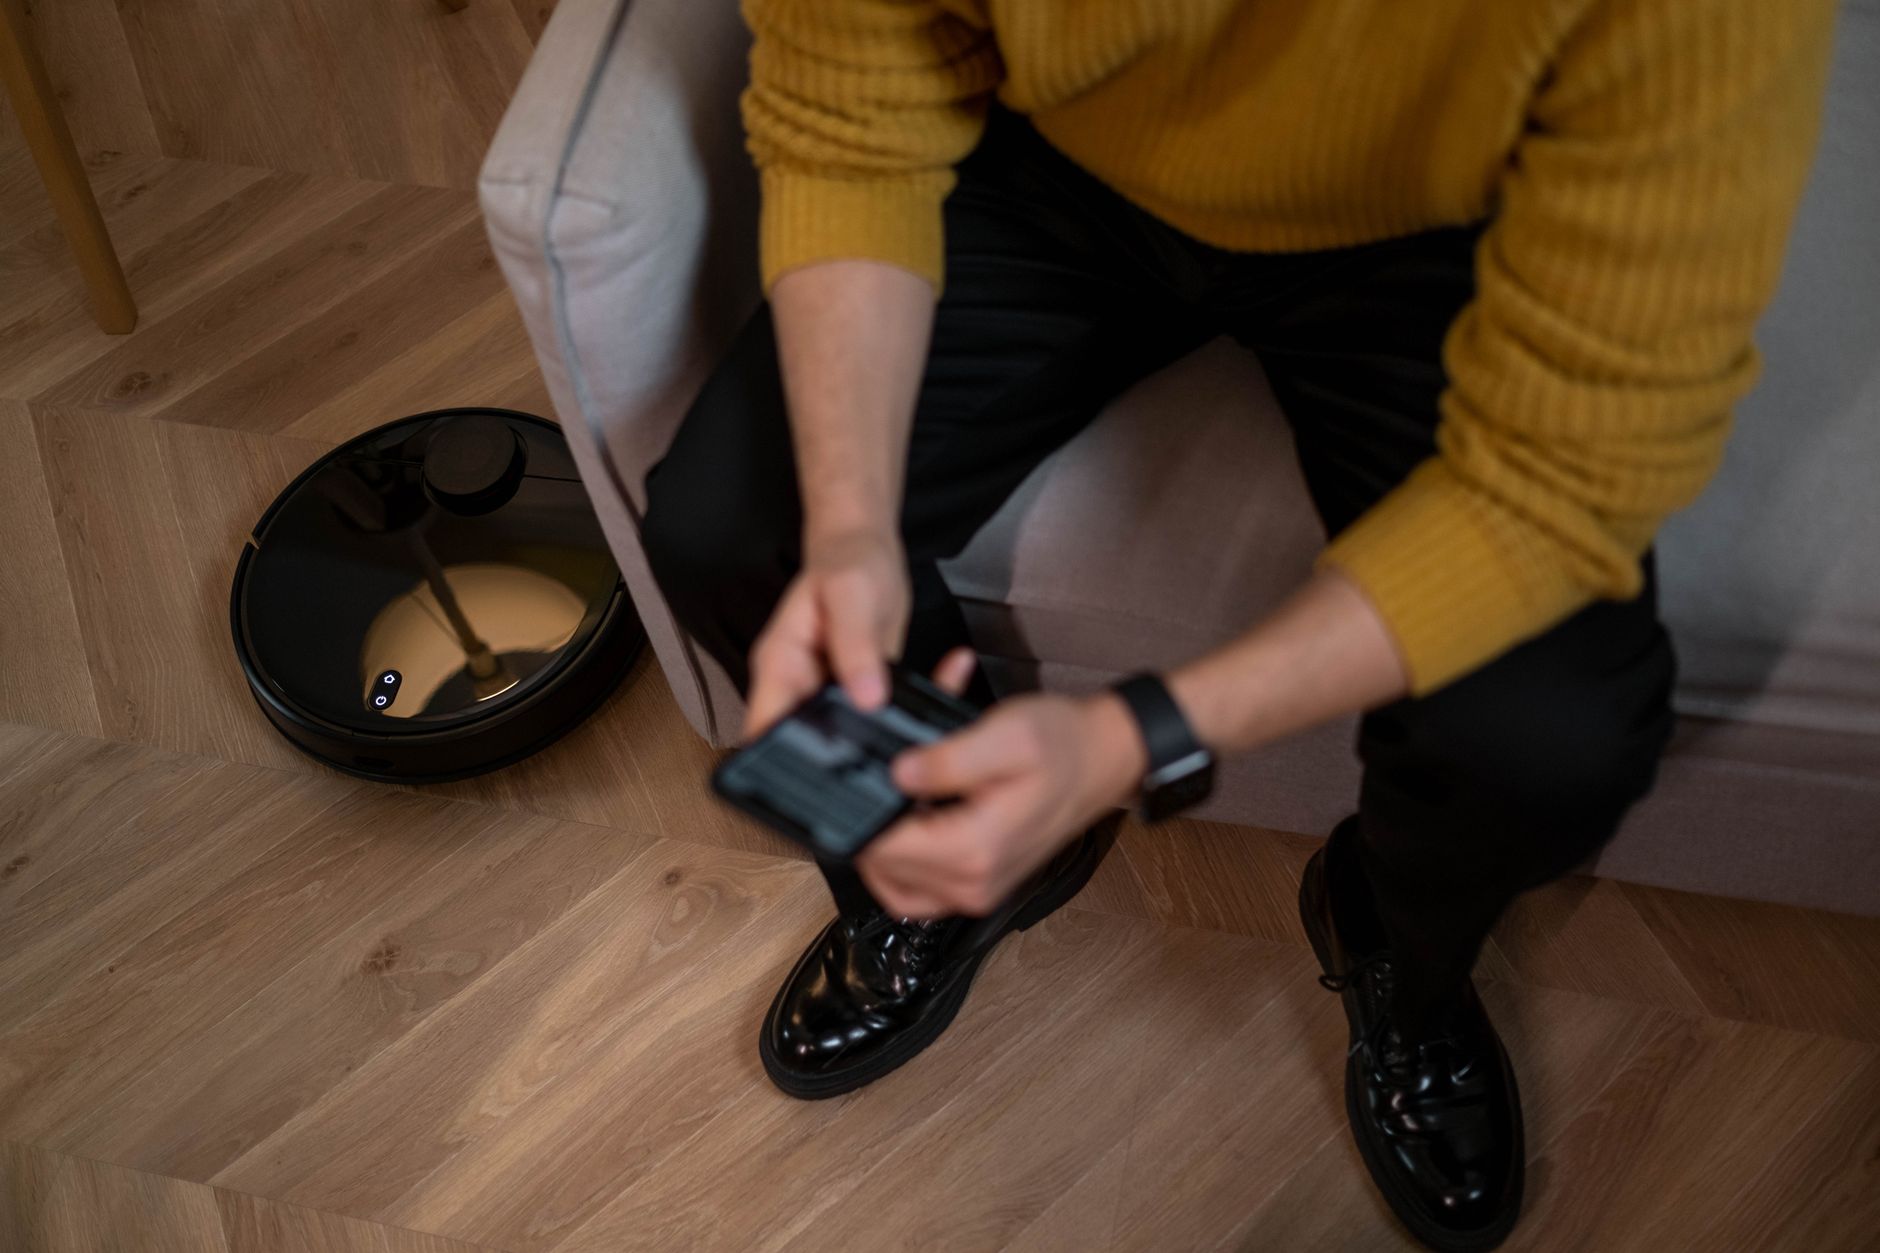

To set up a robot vacuum, place its charging dock on hard flooring against an open wall, plug in the dock, attach any included side brushes, charge the robot fully, connect it to Wi-Fi using the manufacturer’s app, run a mapping or test cleaning cycle, and set no-go zones or schedules. Exact steps vary by model, so check the manual before you begin.
Direct Outcome
After setup, the robot vacuum should charge on the dock, connect to the app, follow a mapped or test cleaning cycle, return to the dock, and respect no-go zones or room schedules you set. You should not need to carry it from room to room unless the manual requires it.
Key Takeaways
- Set up the dock first on a flat, hard floor with clear space around it.
- Fully charge before the first cleaning; check the manual for the initial charge time.
- Use the companion app for Wi-Fi pairing, mapping, no-go zones, and schedules.
- Remove cords, loose rugs, pet toys, and wet spills before the test run.
- After setup, clean sensors, brushes, and the filter regularly.
Prerequisites
- Robot vacuum and charging dock
- Power outlet within reach of the dock cable
- Wi-Fi network name and password if your model supports app control
- Smartphone or tablet with the manufacturer’s app installed
- Clear floor space around the dock and in the first cleaning area
- Small screwdriver if your model requires attaching side brushes
Step-by-Step Setup
-
Step 1: Unbox and inventory
Remove the robot, dock, power cord, side brushes, filters, and manual. Keep the packaging until you confirm everything works.
-
Step 2: Choose the dock location
Place the dock on a hard, flat surface against a wall. Leave clear space in front and on each side so the robot can dock without hitting furniture or walls.
-
Step 3: Attach included accessories
Install side brushes, mop pads, or water tanks only if your model includes them and the manual instructs it.
-
Step 4: Plug in the dock
Connect the power cord to the dock and an outlet. Keep the cord away from the robot’s path and avoid pinching it under furniture or rugs.
-
Step 5: Charge the robot
Place the robot on the dock contacts until the charging indicator turns on. Let it charge to full or the level specified in the manual before the first cleaning.
-
Step 6: Install the app and connect Wi-Fi
Download the manufacturer’s app, create an account, and follow the in-app pairing prompts. Put the robot in pairing mode only when the app asks.
-
Step 7: Prepare the floor
Pick up cords, socks, pet toys, and lightweight rugs. Block stairs or fragile areas with a physical barrier if the robot struggles with edges or low obstacles.
-
Step 8: Run a mapping or test cycle
Send the robot on a short test run or mapping run. Watch for trouble spots such as rug edges, thresholds, or narrow gaps.
-
Step 9: Set maps, zones, and schedules
After the map appears, label rooms, add no-go zones, and schedule cleanings. Save the map if the app requires it.
-
Step 10: Confirm dock return
End the test by sending the robot back to the dock. If it cannot find the dock, clean the contacts and run a return-to-dock test before moving the dock.
Safety Notes
- Do not set up the dock on stairs, ledges, or soft carpet if the manual says hard floor only.
- Keep loose hair, fingers, and pet tails away from brushes and wheels during setup.
- Do not use a damaged power cord or dock.
- If your model has a mop tank, empty it after setup or before storing to avoid leaks.
- Keep the robot away from wet spills, standing water, and exposed power strips.
Troubleshooting Common Setup Issues
| Symptom | Likely cause | Fix |
|---|---|---|
| Robot won’t charge | Dock not powered or contacts dirty | Check the outlet, clean dock and robot contacts, and reseat the robot |
| App won’t connect | Wi-Fi network, password, or pairing mode | Confirm the network, move the robot closer to the router, and reset Wi-Fi per the manual |
| Robot falls or gets stuck | Floor hazards or blocked sensors | Remove cords, block fragile areas, and wipe the edge sensors |
| Map looks wrong | Dock moved, low light, or mirrors | Keep the dock in its original spot, close doors, and re-run mapping |
| Side brush not spinning | Brush not clicked in or debris wrap | Reinstall the brush and remove hair or debris |
Maintenance After Setup
- Empty the dustbin after every few runs or when the app says it is full.
- Clean the filter and replace it when the manual recommends.
- Remove hair from side brushes, main brush, and wheels.
- Wipe edge sensors, charging contacts, and mapping sensors with a dry cloth.
- Inspect the dock cord and area for dust buildup.
FAQ
Do I need to charge a robot vacuum before first use?
Check your manual. Some models recommend charging to full before the first cleaning so the battery calibrates correctly.
Can I set up a robot vacuum without Wi-Fi?
Yes, if your model has manual controls and does not require an app for basic cleaning. App-only features such as schedules and no-go zones may not work offline.
Where should the dock go?
A hard, flat floor against an open wall usually works best. Keep it away from stairs, heat sources, and busy walkways.
Why does my robot not return to the dock?
The dock may be blocked, the contacts may be dirty, or the map may have changed. Clean the contacts and run a return-to-dock test.
When should I replace the filter?
Follow the replacement interval in your manual. If you notice lower suction or more dust escaping, inspect the filter and replace it if worn.