
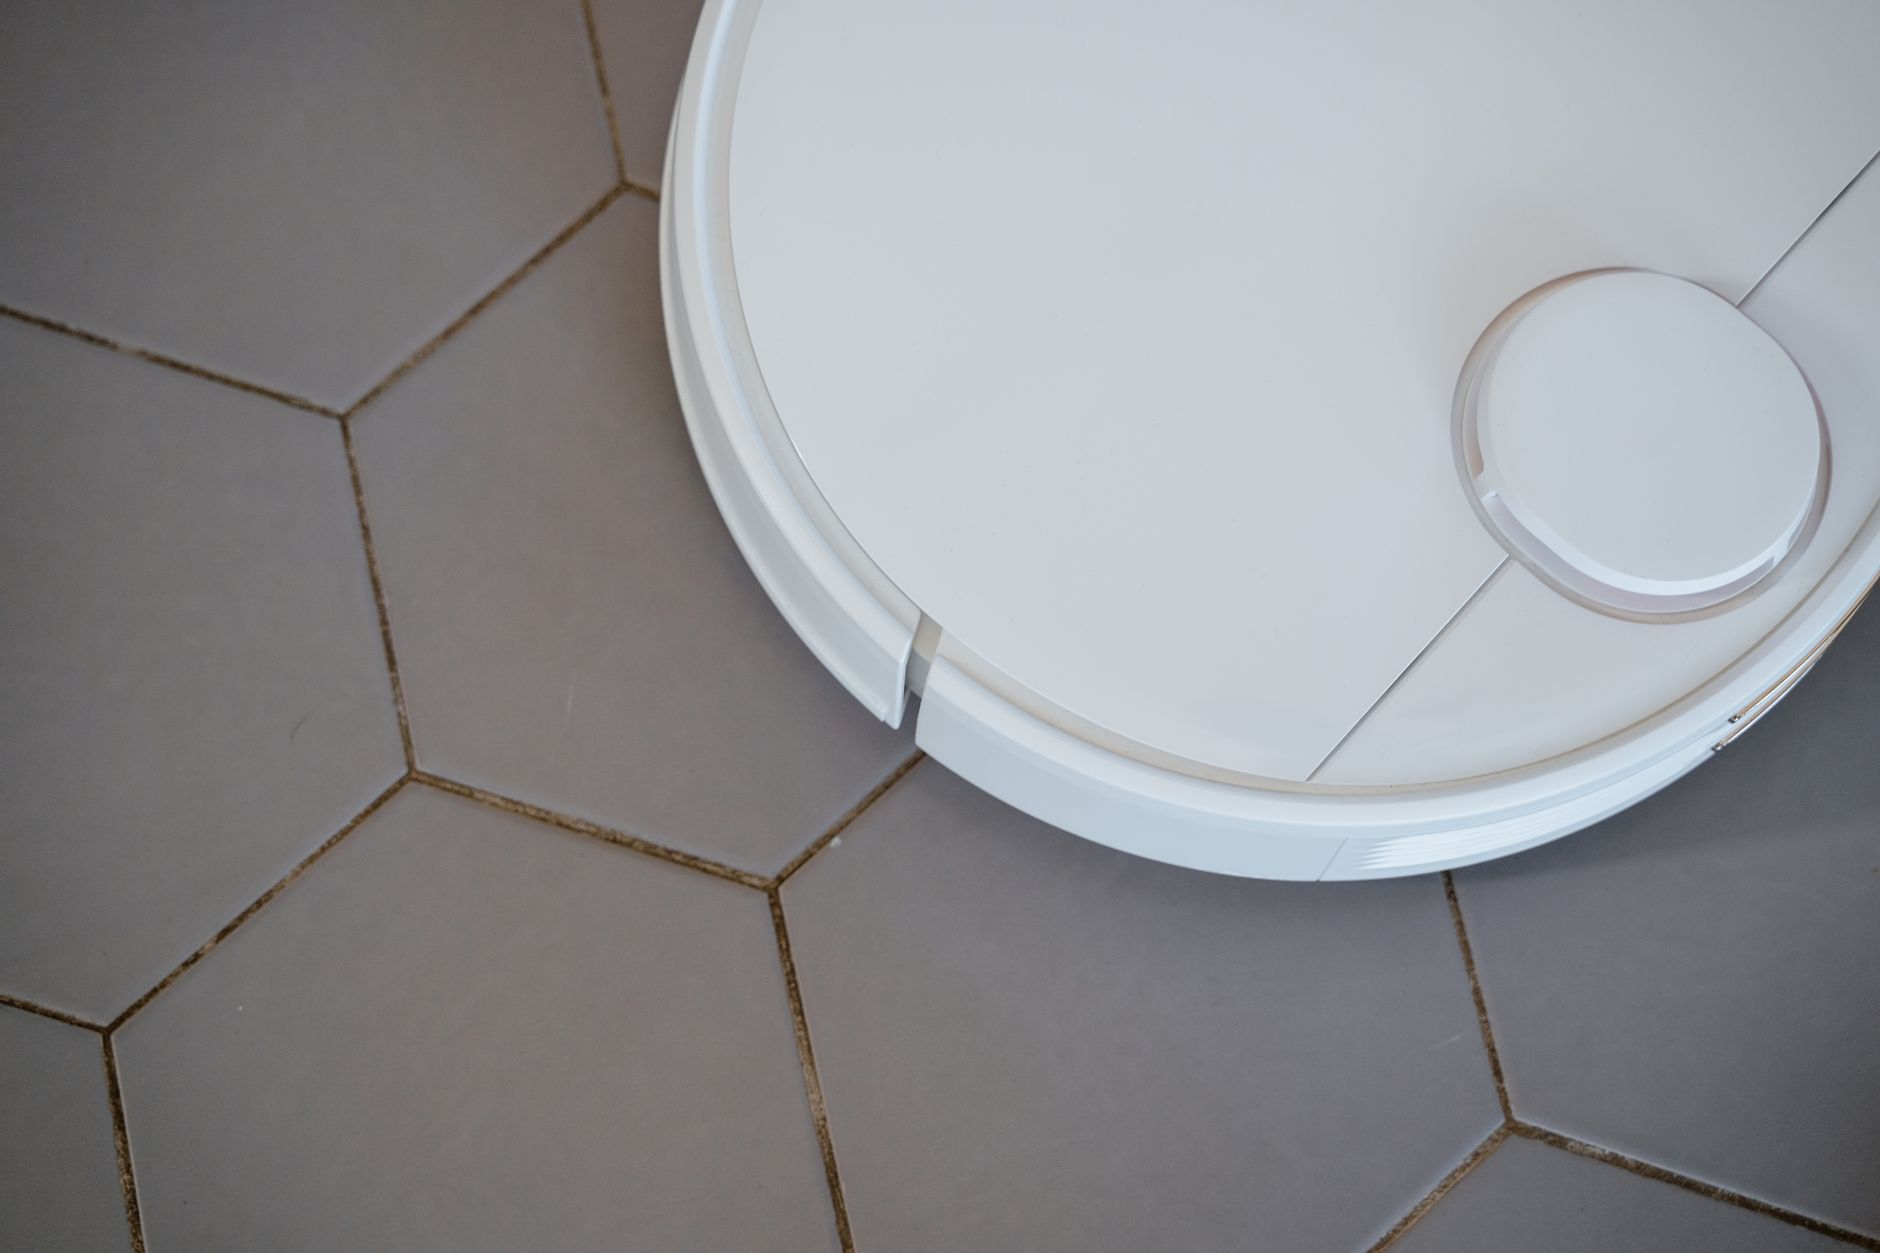

To clean robot vacuum sensors, turn the robot off and remove it from the dock if possible. Use a dry microfiber cloth or soft brush to wipe the sensor windows, bumper gaps, and charging contacts. If the manufacturer allows it, use a barely damp cloth for stubborn smudges—never spray liquid directly onto the robot. Let everything dry completely before running it. Cleaning removes dust, hair, and films that can interfere with navigation, docking, and cliff detection.
Key Takeaways
- Power off the robot before touching sensors or contacts.
- Use dry tools first: microfiber cloth, soft brush, and swabs where safe.
- Never spray liquid into the robot or submerge it.
- Clean both robot sensors and charging dock contacts if docking is unreliable.
- Check the owner’s manual for model-specific sensor locations and approved cleaners.
Table of Contents
- What Good Sensor Cleaning Achieves
- Prerequisites
- Safety Before You Start
- Step-by-Step: How to Clean Robot Vacuum Sensors
- Troubleshooting Sensor Problems
- Maintenance Schedule and Habits
- FAQ
What Good Sensor Cleaning Achieves
The goal is simple: remove dust, hair, lint, and oily films from the sensor windows and contacts so the robot can read its surroundings and dock more reliably. Cleaning does not fix damaged hardware, but it is a safe first step when navigation, cliff detection, or charging behavior changes.
Sensor locations vary by model. Common areas to inspect include the front bumper, the underside edge sensors, the charging contacts, and any camera or lidar window described in your manual. If you are unsure where a sensor is, stop and check the manufacturer’s instructions before rubbing or poking around it.
Prerequisites
- Owner’s manual or manufacturer support page: Use it to identify sensor locations and approved cleaning methods.
- Dry microfiber cloth: A clean, lint-free cloth is the safest first tool.
- Soft brush: A small dry brush can lift dust from bumper gaps and recesses.
- Cotton swabs or soft detailing swabs: Use only if they fit without forcing debris into openings.
- Manufacturer-approved cleaner: Use only if the manual specifically allows it.
- Well-lit work area: Good light helps you see sensor windows, films, and trapped hair.
- Time to let surfaces dry: Do not rush a wet or damp robot back onto the dock.
Safety Before You Start
- Turn the robot off before cleaning sensors or contacts.
- Remove the robot from the charging base if possible. If the manual requires unplugging the dock before cleaning contacts, unplug it.
- Do not spray water, cleaners, or compressed air directly into sensor openings unless the manufacturer explicitly says it is safe.
- Do not submerge the robot or rinse it under a faucet.
- Do not use abrasive pads, metal tools, sharp objects, or harsh solvents unless approved by the manufacturer.
- Use only a barely damp cloth if the manual permits moisture, and wring it out well.
- Let all cleaned areas dry completely before powering the robot back on.
- If a sensor window looks cracked, loose, scratched, or damaged, stop cleaning and contact support.
Step-by-Step: How to Clean Robot Vacuum Sensors
- Power down the robot. Turn it off using its power switch or app control, then place it on a stable, well-lit surface. If it is on the dock, remove it first when the manual allows.
- Remove loose debris from the area. Empty the dustbin if your model requires it, and gently shake or brush away loose dust around the bumper and underside. This keeps debris from spreading onto clean sensor windows.
- Identify the sensors using your manual. Locate the front bumper sensors, side or underside cliff sensors, charging contacts, and any camera or lidar window. Do not guess if the manual shows a different layout.
- Wipe sensor windows with a dry microfiber cloth. Use light pressure. Wipe once, then turn the cloth to a clean section. Avoid pressing hard on camera lenses, lidar windows, or plastic covers.
- Brush bumper gaps and recessed edges. Use a soft dry brush to sweep dust and hair away from the bumper gap and sensor openings. Brush outward rather than pushing debris deeper.
- Clean narrow sensor recesses carefully. If the manual allows, use a dry cotton swab around the edge of a sensor window. Do not insert the swab into an opening or apply pressure to the sensor itself.
- Wipe charging contacts on the robot and dock. Use a dry microfiber cloth on the metal contacts. If the manual allows a manufacturer-approved cleaner, apply it to the cloth, not directly to the contacts.
- Check for remaining films or smudges. If a sensor window still looks cloudy, use a barely damp microfiber cloth only if the manufacturer permits moisture. Follow with a dry cloth.
- Let everything dry fully. Wait until no moisture is visible on the robot, sensors, or dock contacts before reassembling or powering on.
- Run a short test. Place the robot on the floor or dock according to the manual and start a small cleaning run or docking test. If the same error appears, move to troubleshooting.
Troubleshooting Sensor Problems
Cleaning solves many sensor warnings, but not every error. Use the table below to narrow down what to check next. If a problem continues after basic cleaning and a restart, contact the manufacturer or a qualified repair service.
| Symptom | Possible cause to check | Safe action |
|---|---|---|
| Robot bumps into walls or furniture | Dust or film on bumper sensors; bumper stuck | Clean bumper sensor windows and check that the bumper moves freely without forcing it. |
| Robot avoids or stops near edges | Dirty cliff sensors or floor surface confusing the sensor | Clean underside cliff sensors with a dry cloth and test on a normal floor. Check the manual for floor-surface notes. |
| Robot spins or seems lost | Camera or lidar window dusty or blocked | Clean the window only as the manual allows. Remove nearby objects that may block the sensor. |
| Robot will not charge or dock | Dirty charging contacts on robot or dock | Wipe both sets of contacts with a dry microfiber cloth and confirm the dock is powered correctly. |
| Error continues after cleaning | Sensor damage, software issue, or unrelated hardware fault | Restart the robot, check for app or firmware guidance, and contact support if the error returns. |
Maintenance Schedule and Habits
Sensor cleaning is easiest when it becomes part of your normal robot vacuum care routine. The right frequency depends on your home, pets, flooring, and the manufacturer’s recommendations.
- Check sensor windows when you empty the dustbin. A quick visual check can catch dust before it causes navigation problems.
- Clean more often in dusty or pet-heavy homes. Hair, dander, and fine dust can collect around bumpers and underside sensors.
- Keep the dock area tidy. Clean charging contacts when docking becomes unreliable.
- Follow the manual for filters, brushes, and sensors. Do not replace manufacturer maintenance steps with internet shortcuts.
- Record recurring errors. If the same sensor warning returns soon after cleaning, note when it happens and share that pattern with support.
FAQ
Can I use alcohol wipes on robot vacuum sensors?
Only if your manufacturer says alcohol or a specific cleaner is safe for those parts. Some plastics, coatings, and sensor windows can be damaged by solvents. A dry microfiber cloth is the safer first choice.
How often should I clean robot vacuum sensors?
Follow your owner’s manual. As a practical habit, inspect the sensors whenever you empty the bin or notice navigation, docking, or cliff-detection errors.
Why does my robot still report a sensor error after cleaning?
Dust may remain in a recess, moisture may still be present, the robot may need a restart, or the sensor may be damaged. Recheck the manual, let the robot dry fully, restart it, and contact support if the error continues.
Can I use compressed air to clean sensors?
Use compressed air only if the manufacturer permits it. Otherwise, a soft dry brush is safer because air can push debris deeper into openings.
Do I need to clean the charging dock too?
Yes, if your robot has docking or charging problems. Clean the robot’s charging contacts and the dock contacts with a dry microfiber cloth, following the manual’s safety instructions.
Can I wash the sensor area with water?
Do not submerge the robot or spray water into it. If the manual allows moisture, use a barely damp cloth on the exterior sensor window, then dry it completely.