
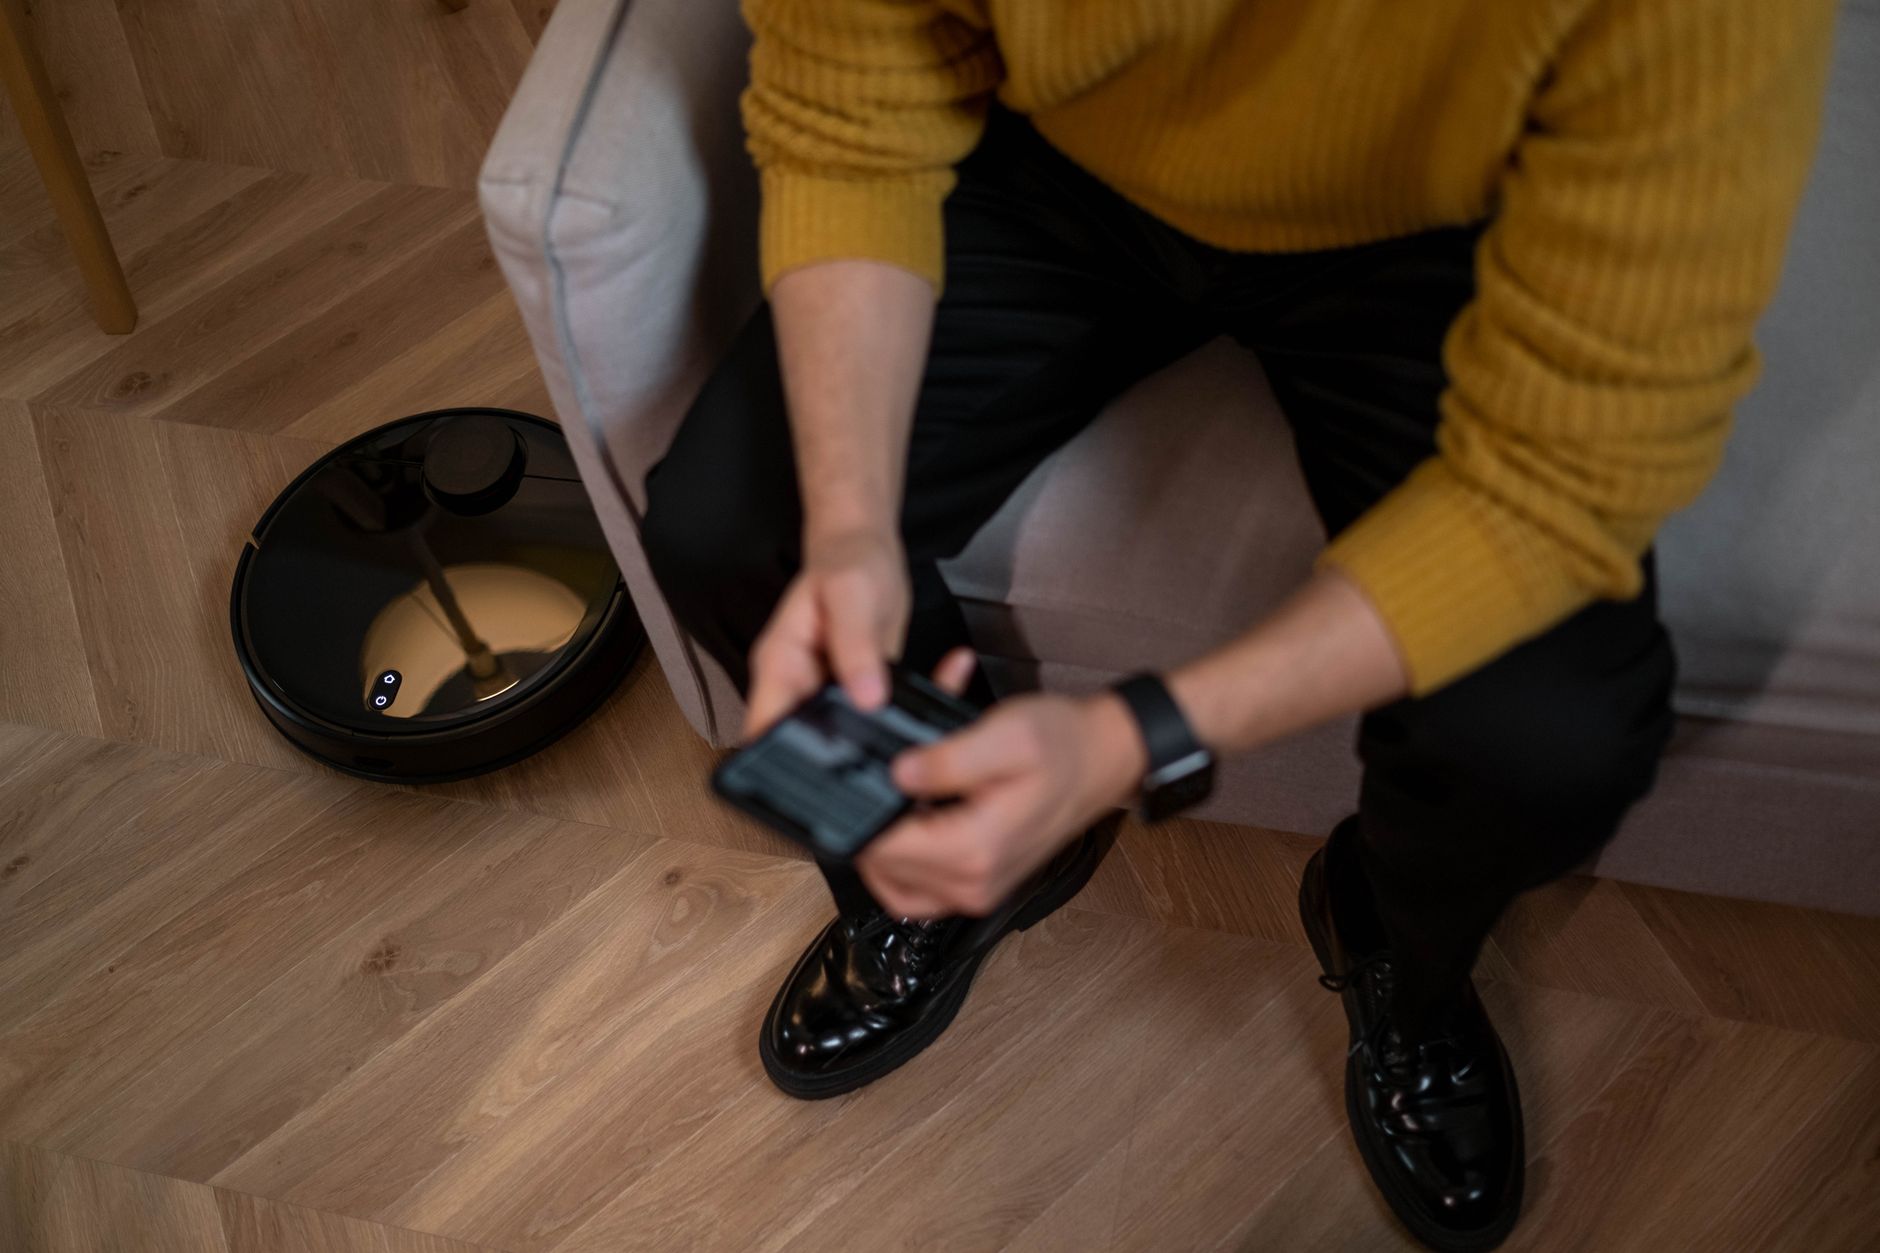

Setting up a robot vacuum and mop is straightforward: place the dock with clearance, charge the robot, install the app, connect to Wi-Fi, map the home, fill the water tank, attach the mop pad, and start a test run. A successful setup leaves the robot able to dock, clean, mop lightly, and follow schedules. Use this guide for the full walkthrough.
Key takeaways
- Place the dock on a hard, level surface with clearance on all sides.
- Charge the robot before the first mapping run.
- Install the app, connect to the correct Wi-Fi band, and update firmware if offered.
- Attach the mopping module only after filling the clean-water tank and checking pad fit.
- Run a mapping-only pass before scheduling the first wet clean.
Table of Contents
Direct outcome: what a successful setup looks like
A successful setup means the robot vacuum and mop docks and charges on its own, follows the map you created, avoids the barriers you set, and returns to the dock when the battery is low or cleaning ends. The mopping function should dispense enough water to dampen the pad without soaking the floor. You should also be able to start, pause, and schedule cleaning from the app or the robot’s buttons.
Prerequisites
- Robot vacuum and mop, charging dock, and power adapter.
- Mopping plate, washable or disposable mop pads, and clean-water tank if included.
- Smartphone with the manufacturer’s app installed and Bluetooth or Wi-Fi enabled.
- 2.4 GHz Wi-Fi network name and password, if the app asks for them.
- Empty floor space around the dock and a clear path for mapping.
- The manufacturer’s quick-start guide for model-specific instructions.
Step-by-step setup
- Unbox and inspect. Remove the robot, dock, power cord, mopping plate, pads, and water tank. Take off protective film from sensors, camera, bumper, and charging contacts.
- Position the dock. Set the dock on a hard, level surface against a wall. Leave roughly 3 feet of open space in front and at least 1 foot on each side, or follow the clearance shown in your manual.
- Power the dock and charge. Plug the adapter into the dock and the wall, then place the robot on the dock. Let it charge until the indicator shows full or the app says charging is complete before the first map.
- Install the app and connect. Download the manufacturer’s app, create or sign in to your account, and follow the pairing steps. If the robot asks for Wi-Fi, use a 2.4 GHz network and keep the phone near the robot during pairing.
- Prepare the mopping module. Fill the clean-water tank with clean water and only add a cleaning solution if the manual says it is safe. Attach the mop pad securely to the plate, then click the plate or tank into the robot.
- Run a mapping pass. Start a mapping or explore cycle before the first wet mop. Keep doors open and pick up cords, socks, and rugs that can catch the robot. Let the robot finish without carrying it unless it gets stuck.
- Set zones and preferences. In the app, label rooms, add no-go zones or no-mop zones, and set carpet behavior if available. Choose water flow level, suction power, and cleaning order.
- Start the first cleaning run. Select a small area or a full run and start the robot. Watch the first few minutes to confirm the mop pad drags evenly, water output is light, and the robot does not catch on thresholds or rug edges.
Safety and placement
- Keep the dock away from stairs, floor vents, direct sunlight, and tight corners.
- If the robot mops, avoid placing the dock on carpet unless the manual says it is safe; damp pads can leave moisture on the dock base.
- Remove cables, charging bricks, pet toys, and loose rug tassels before the first run.
- Block off wet or freshly mopped floors if the manual says the robot is not rated for standing water.
- Empty the water tank before storing the robot or moving it to another floor.
Troubleshooting common setup issues
| Issue | What to check |
|---|---|
| Robot won’t connect to Wi-Fi | Use 2.4 GHz, disable VPN or ad-blocking, move the robot closer to the router, re-enter the password, and restart pairing mode. |
| Robot won’t mop | Confirm the tank has water, the mop pad is attached, the mop module is clicked in, and the app water flow is not set to off or low. |
| Robot won’t dock | Check dock power, clean the charging contacts, remove objects within the dock clearance area, and place the robot manually on the dock to re-seat it. |
| Map looks incomplete or crooked | Add more light, close doors to rooms you do not want mapped, remove reflective objects near the floor, and delete the map before re-running. |
| Floors are streaky or too wet | Wash or replace the mop pad, use only the recommended cleaning solution, and lower the water flow level. |
Maintenance after setup
After the first setup and each cleaning cycle, empty the dustbin, clean the filter, remove hair from the brush roll, and wipe the sensors and charging contacts with a dry cloth. Wash reusable mop pads after each mopping session and let them dry before reattaching. Drain unused water from the tank if the robot will sit for more than a day. Replace filters, brushes, and pads at the intervals listed in your manual.
FAQ
Do I need to remove the mop pad before vacuuming carpet?
If the robot does not have automatic pad lifting, remove the mop plate before carpet cleaning to avoid dampening the carpet.
Can I put floor cleaner in the water tank?
Only use a cleaning solution if the manufacturer’s manual explicitly lists it as safe. Using an unapproved cleaner can clog the internal pump or leave residue.
How long does setup take?
Physical setup can take 15 to 30 minutes. Charging and mapping can add 30 to 90 minutes depending on the model and home layout.
Why does the robot need a 2.4 GHz Wi-Fi network?
Many robot vacuums require a 2.4 GHz network during setup. Check your model’s network requirements and use the band the app specifies.
Can I run the robot without the app?
Many robots have a physical start or stop button, but app-based mapping, no-go zones, scheduling, and water-flow control usually require the app.